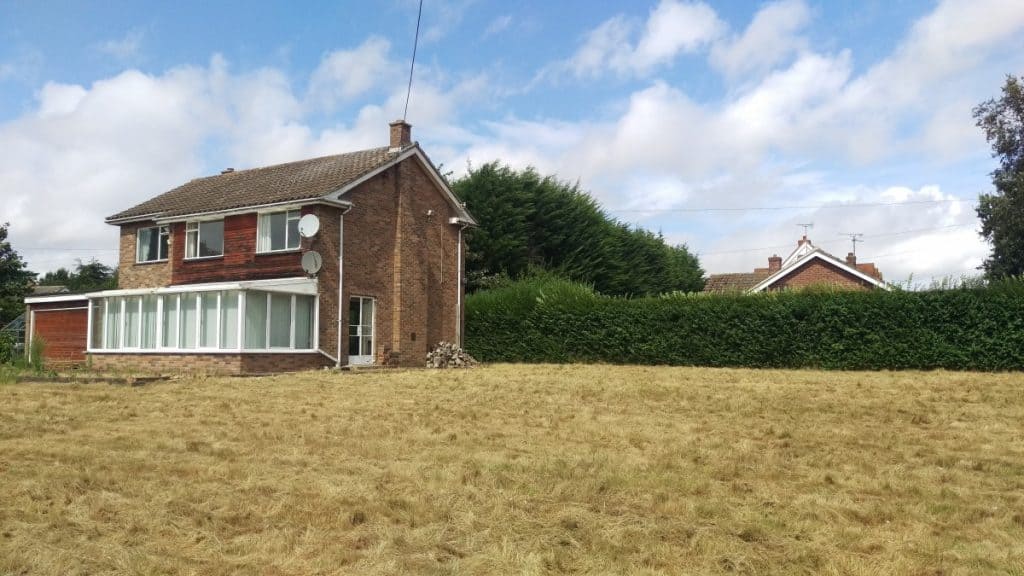
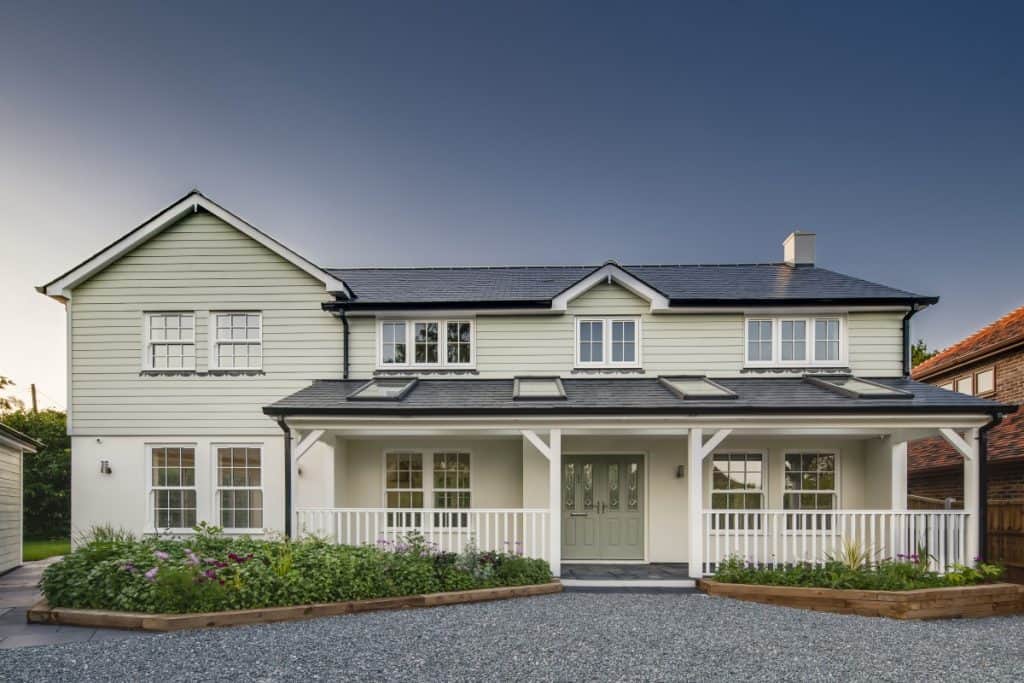
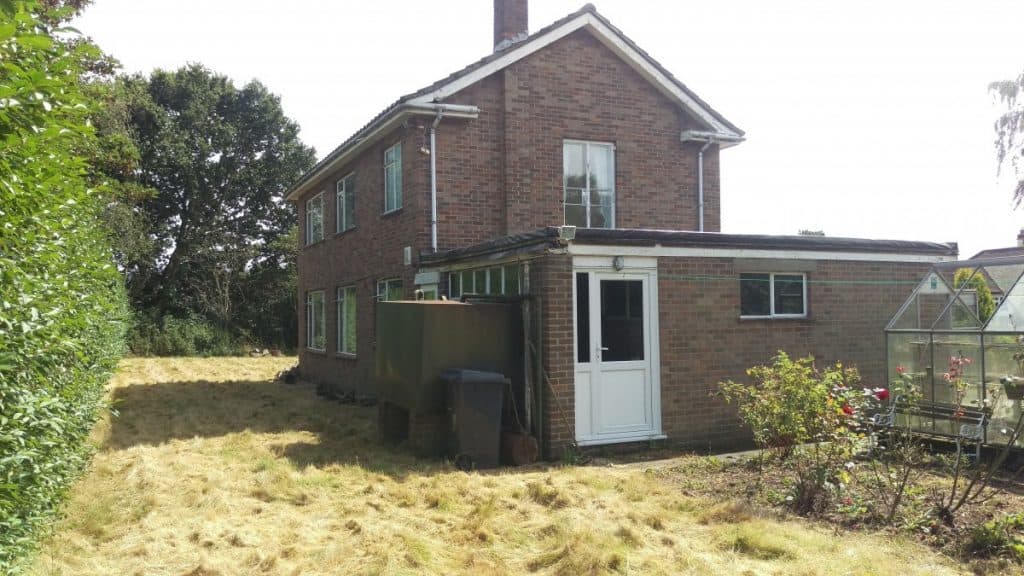
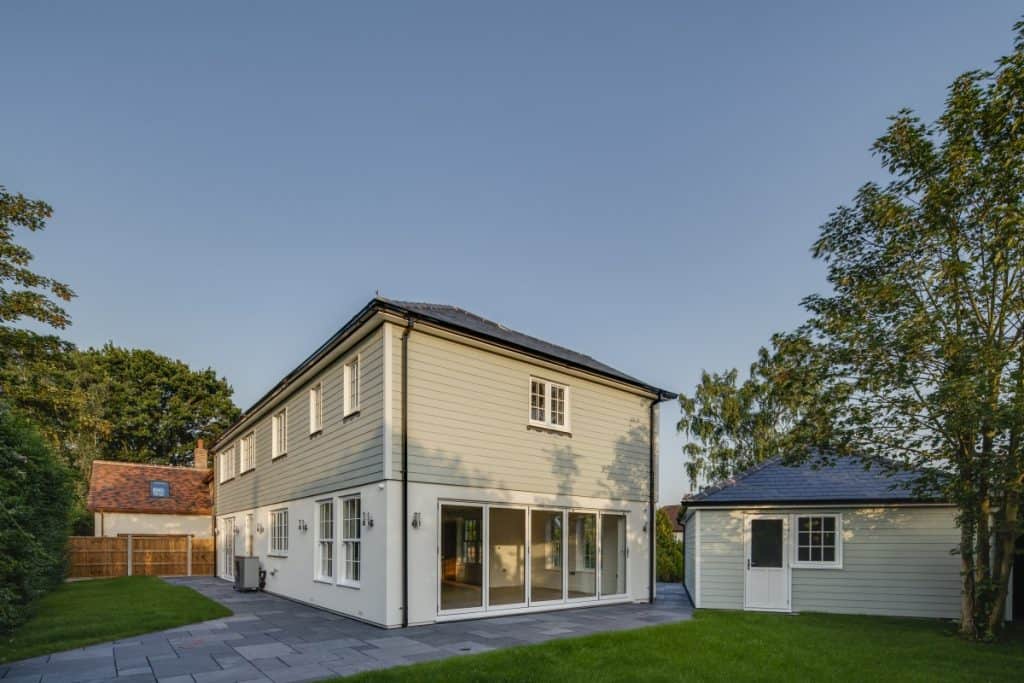
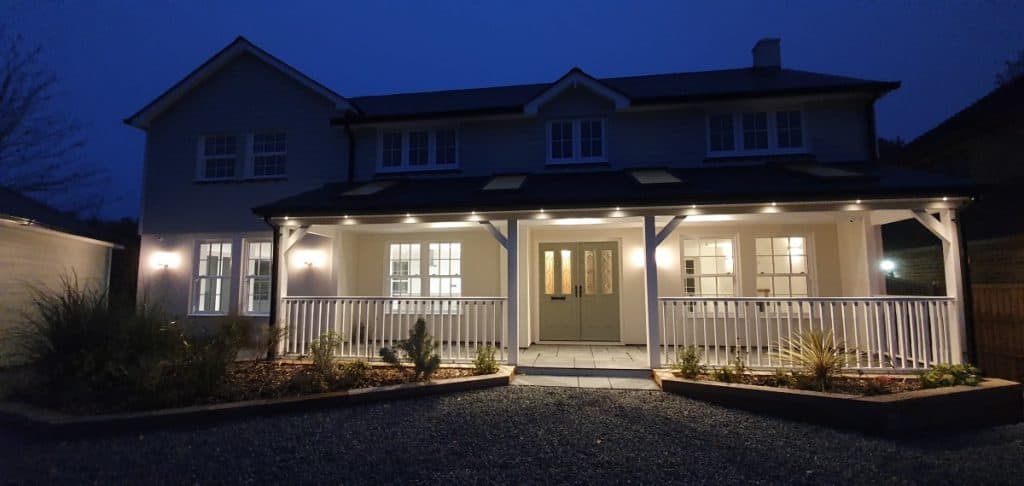
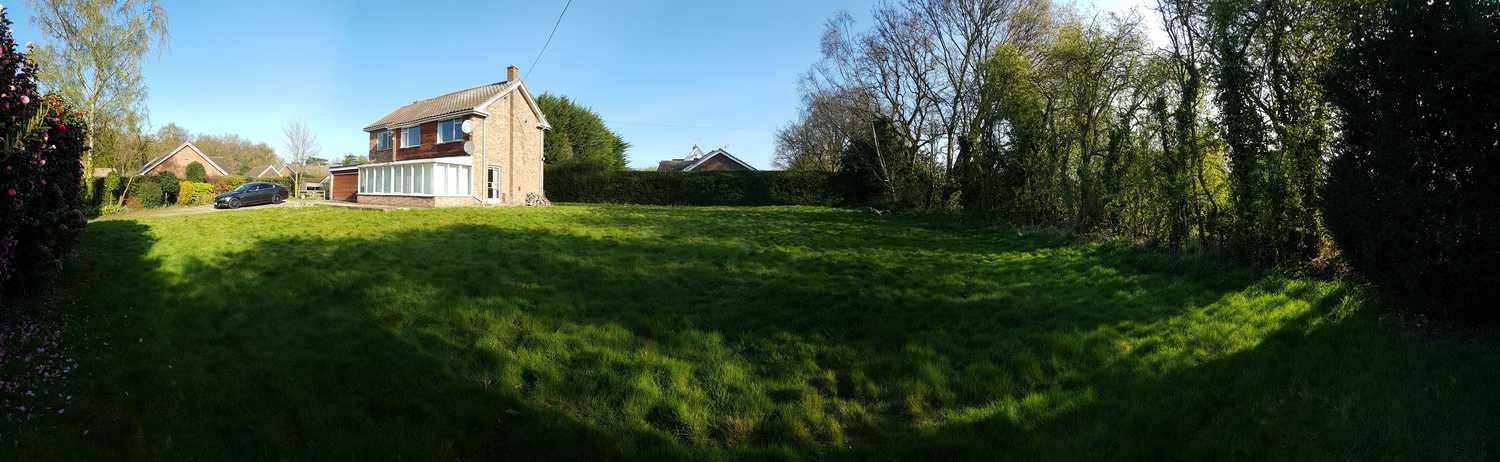
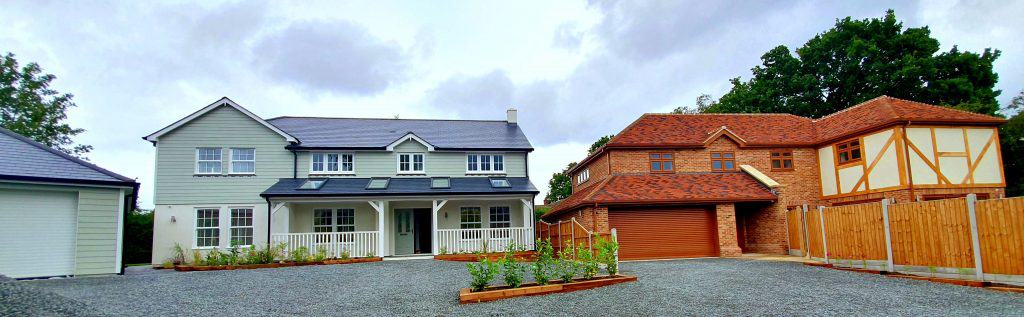
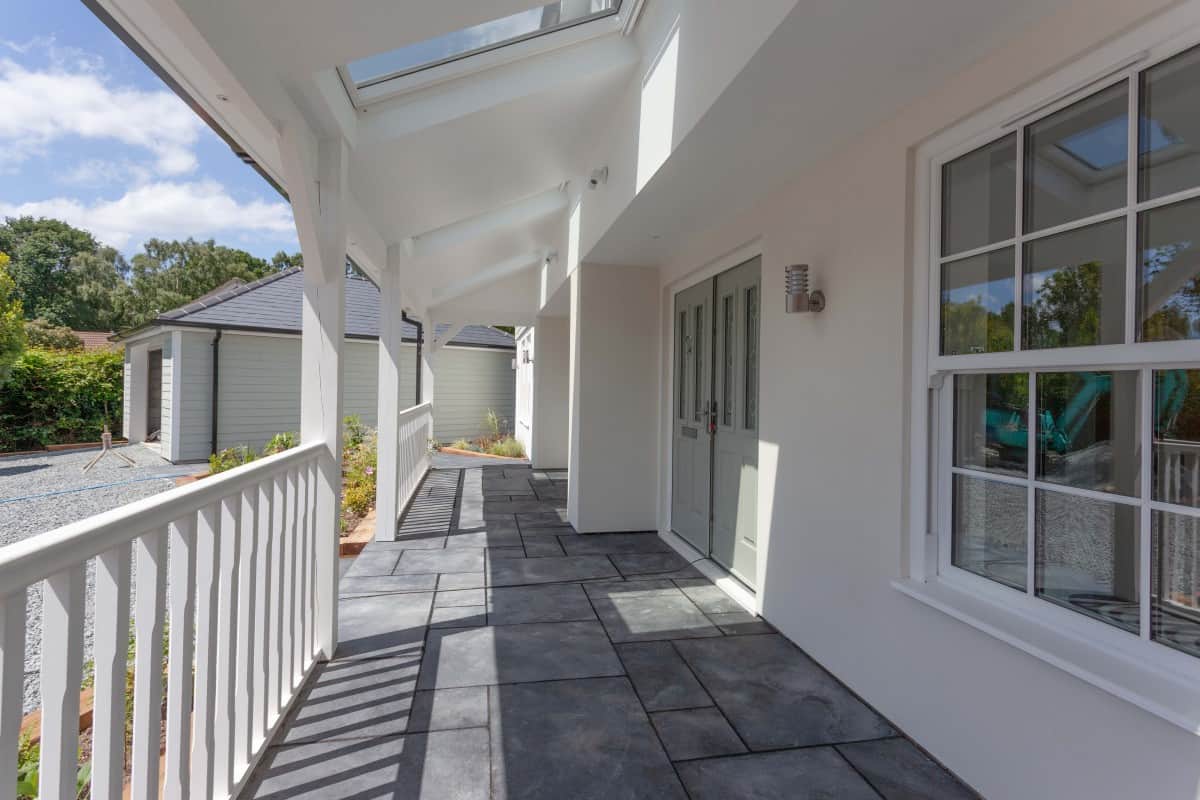
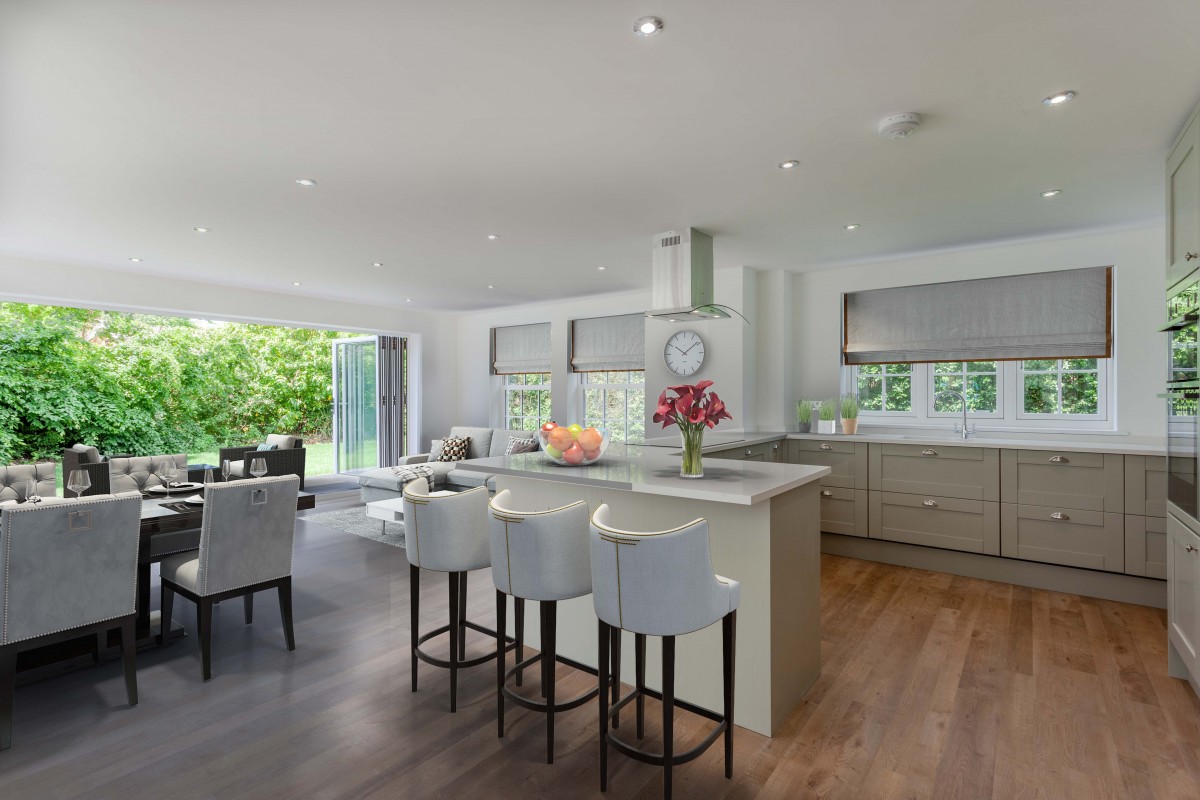
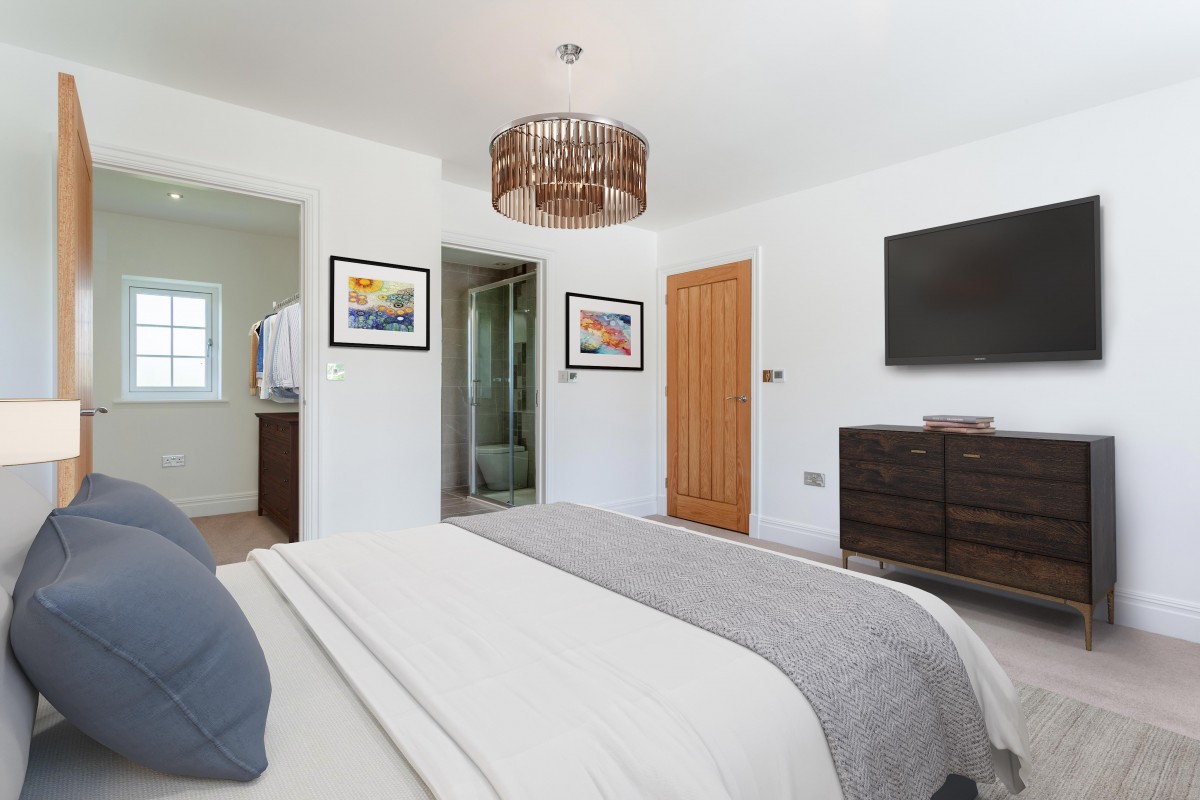
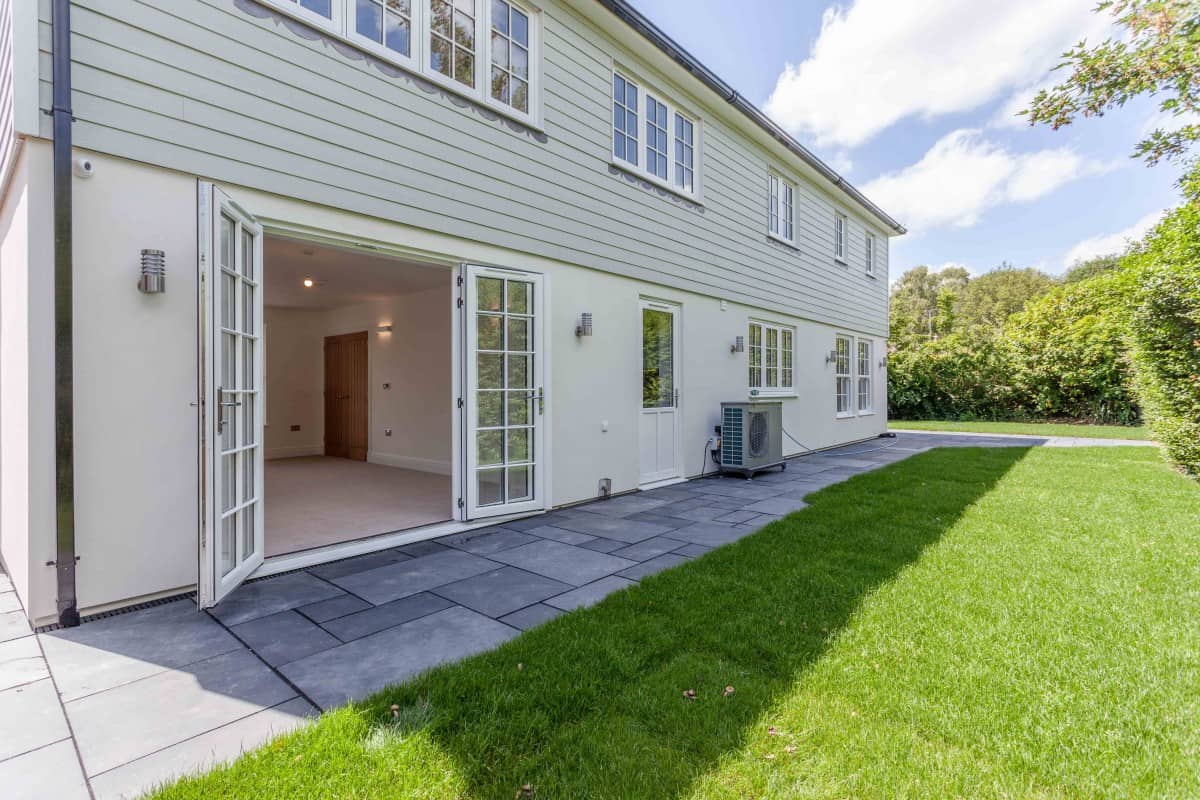
This property was a self-build originally constructed in the early 1960s. As the owners aged, so did the property and it got to a point where a full renovation was needed. As you can see, the transformation is quite spectacular and it now looks like a brand new home.
BEFORE
AFTER
BEFORE
AFTER
BEFORE
AFTER
BEFORE
AFTER
The other property that was part of this development can be seen here.
NuHeat Air Source Heat Pump and underfloor heating throughout ground and 1st floors with individual room controls.
Standard tacker UFH system on the ground floor..
Clippa Plate systems on the upper floors.
Internal Finish
The decision was made to split the garden to create a second plot because, being right on the doorstep of Galleywood Common, you could find plenty of open spaces to enjoy right at the end of the driveway! The remaining gardens are plenty big enough for entertaining during the summer months and who wants the hassle of all the maintenance of a massive garden?
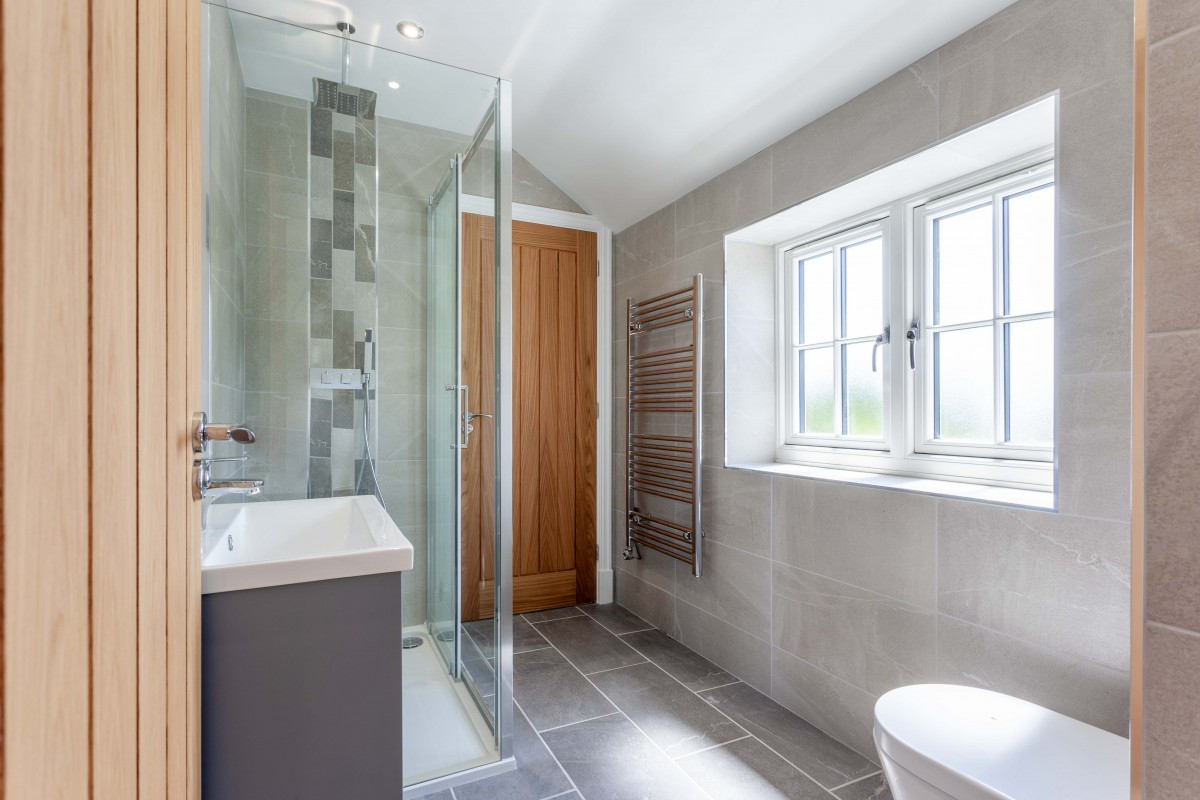
The brief was given to our preferred architect for these types of projects and he set about developing the design. A more open plan living space was planned with 2 extra ensuite bathrooms. Externally, New England was the desired style to achieve which meant cladding, natural slates and a veranda to sit on and enjoy the evening sunset.
Plans were drawn to demolish and extend over the garage to create a larger 4-bed property with more family living space and fabulous kerb appeal!
Taking on any renovation project always carries risks of uncovering some nasty surprises when demolition starts. This particular property was one of the worst cases we have come across. In hindsight, it would have been easier, quicker and cheaper to knock the existing building down and start fresh. We had anticipated a few upgrades such as retiling the roof but the following all had to come out and be replaced:
The roof structure was deemed unsafe by the Structural Engineers and a new truss roof was designed.
The steel beam supporting the front 1st-floor wall which overhangs the lower floor was undersized and was actually bent despite the wall above only being single skin! This meant the front wall had to be removed, beam replaced and the wall rebuilt with a traditional cavity construction.
1st-floor joists were replaced bar the timbers over the living room. We knew there would be some adjustment needed but when we removed the ceilings it was clear that the joist direction was not what we expected.
1st-floor walls were removed. When the floor beneath goes, so does the wall that sits on it.
The ground floor slab was removed and upgraded. There was an old oil boiler in the property but because we decided to install an Air Source Heat Pump (ASHP) with underfloor heating throughout, this required a greater level of insulation within the property. The ground floor was excavated and reinstated with the required levels of ground insulation.
All that remains of the original property is the right flank and rear wall. Almost everything else was removed and rebuilt.
Not a lot of the original property was left once we took out everything that couldn't be saved.
When carrying out projects like this for a customer we will give you 2 estimated prices prior to carrying out the demolition phase so that you will have a plan B should some unforeseen issues be found. These prices are based on:
“Bad luck” scenario. This includes demolition and full reinstatement of the property.
“Jammy wotsit” scenario. This allows for carrying out the work with minimal repairs to the existing structure.
Once the demolition phase has been completed and a full survey of the structure undertaken then the price can be firmed up as you would expect from a normal design and build contract. The reasoning behind this way of doing things is so that you can plan for the worst and hope for the best without the builder taking on unnecessary risk which translates into loading up the quote to compensate for this risk. A fair price for actual work to be undertaken is achieved and both parties are happy.